

Herringbone Stitch is used in hand embroidery, knitting, and crochet. This stitch is a series of crosses which are not cut from the exact center. This stitch is also called as Mossoul Stitch, Plaited Stitch, Catch Stitch, Witch Stitch.
For Video tutorial visit youtube channel or click below link:
Step 1 :

Draw two parallel lines. We will start from left to right, take the needle out from fabric at point “A” which lies on the left tip of the upper line.
Step 2: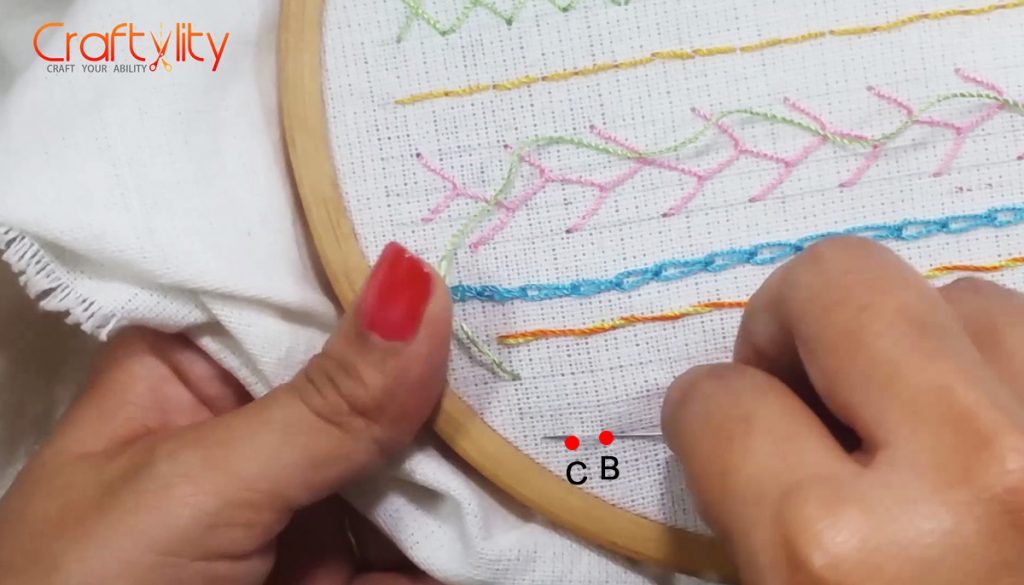
Put the needle at point “B” which is on diagonally right side of the lower line and take the needle out from point “C” which is on the left side of point “B”.
Step 3:
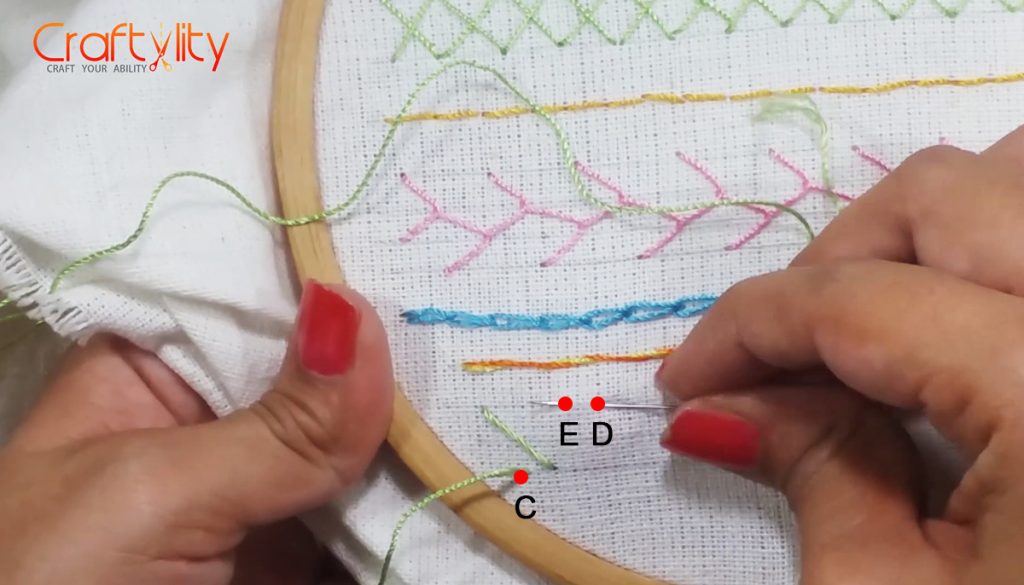
Put the needle into the fabric at point “D” which is diagonally right on the upper line and take it out at point “E” as shown in the above image.
Step 4:

Continue with the same procedure until the end of the line.
Step 5:

This is the finished look of Herringbone Stitch.